

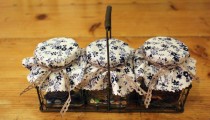
I couldn’t bear to throw or recycle such pretty jars. They are simplicity itself; just an assembly job really, but great fun to do which makes them ideal as a quick project with the children.

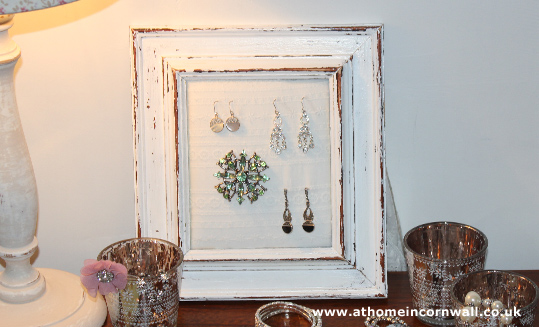
Jewellery Board
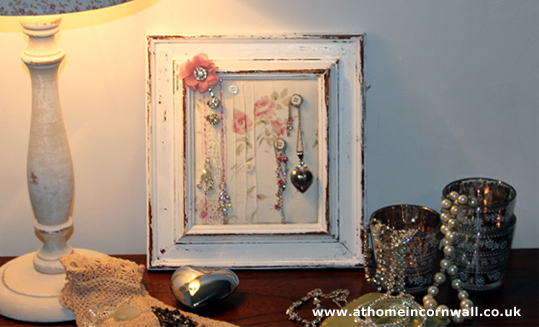
Is the board showing off the jewellery or the jewellery showing off the board?! I had been saving this fabric (a favourite shirt which I had torn) for something special – with its floaty/romantic feel I think it looks great in the worn-look frame, propped up against a white wall.
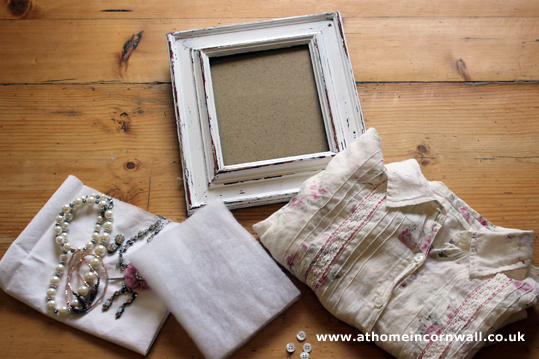
You will need:
- Picture or photo frame with wooden surround
- Fine grade Sandpaper
- Undercoat
- Topcoat
- Small to medium Paint brushes (& cleaner if necessary)
- Solid furniture wax
- Fabric – if quite sheer, you will also need cotton for the lining
- Lace or ribbon
- Buttons
- Piece of thin card
- Double-sided tape
- Heavy duty stapler or staple gun & staples
- Sewing pins
- Picture hook and small piece of wire if necessary
Painting the frame
- Take out the backing board and glass and, after washing the frame thoroughly, sand the frame lightly to give a key for the paint to adhere to and wipe with a clean cloth.
- Paint at least 2 coats of undercoat, leaving to dry as per the manufacturer’s instructions on the tin. The first coat will probably look very patchy and the second should give a better coverage. Try to ensure you get your paint in all the nooks and crannies as they are the places that wouldn’t naturally incur much wear.
- Apply 2 top coats, allowing more time than the manufacturer recommends – if you don’t allow adequate time for the paint to harden properly, the paint will ‘drag’ when you start to sand it.
- Start sanding the edges and protruding parts of the frame, paying most attention to those parts which would naturally incur the most wear, like the corners. Leave the deeper crevices un-sanded and try not to be too symmetrical with the ‘wear’.
Wipe the whole frame with a clean damp cloth to remove the loose paint & sandpaper. Apply a coat of wax, leaving it to harden before ‘buffing’ with a clean cloth.
Adding your fabric
 Measure and cut your card to the same size as the backing board of the frame. Measure and cut your fabric to be around 3cm larger all around than the board and cut your cotton (if using) slightly smaller. Also cut your wadding to the same size as the backing board or just slightly smaller.
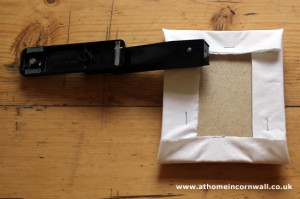 Place your board, right side up, on a flat surface. Stick your wadding centrally on top using double-sided tape along all sides of the card. Place your cotton fabric on top of the wadding (if using), using staples to stick the ‘flaps’ of fabric to the reverse of the board. Repeat with your pretty fabric. Because your fabric pieces are different size, you should avoid problems with trying to staple in the same area. OR if you prefer, pin this into place for the moment. Turn right-side up again.
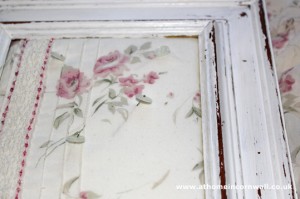 I chose fabric which already had lace and beads attached. If you are using separate lace, you can place it horizontally or vertically – if using ribbon it will need to be horizontal to allow you to ‘hook’ your jewellery between the ribbon and the fabric. Cut it to be 1cm wider/longer than the fabric and place it on the fabric. If you are using lace, sew it all the way along by hand. Because it is padded this should be relatively straight forward, however you may find it easier to detach the fabric from the board first, as already suggested, then secure afterwards. If you are using ribbon, you will need to place it horizontally and stitch it at the sides plus a couple of other places midway to enable your jewellery to slip between the ribbon and fabric. Stitch on the buttons to act at hooks. The buttons I used came from the same original shirt.
Re-assemble the whole frame, adding a picture hook if necessary.
Other ideas
Try a natural-coloured fabric, especially if your jewellery is more colourful than mine.
Even easier
If you choose a Broderie Anglaise type fabric, you can dispense with the lace or ribbon and hang your jewellery straight onto the fabric. You could even use a pastel coloured cotton fabric underneath.